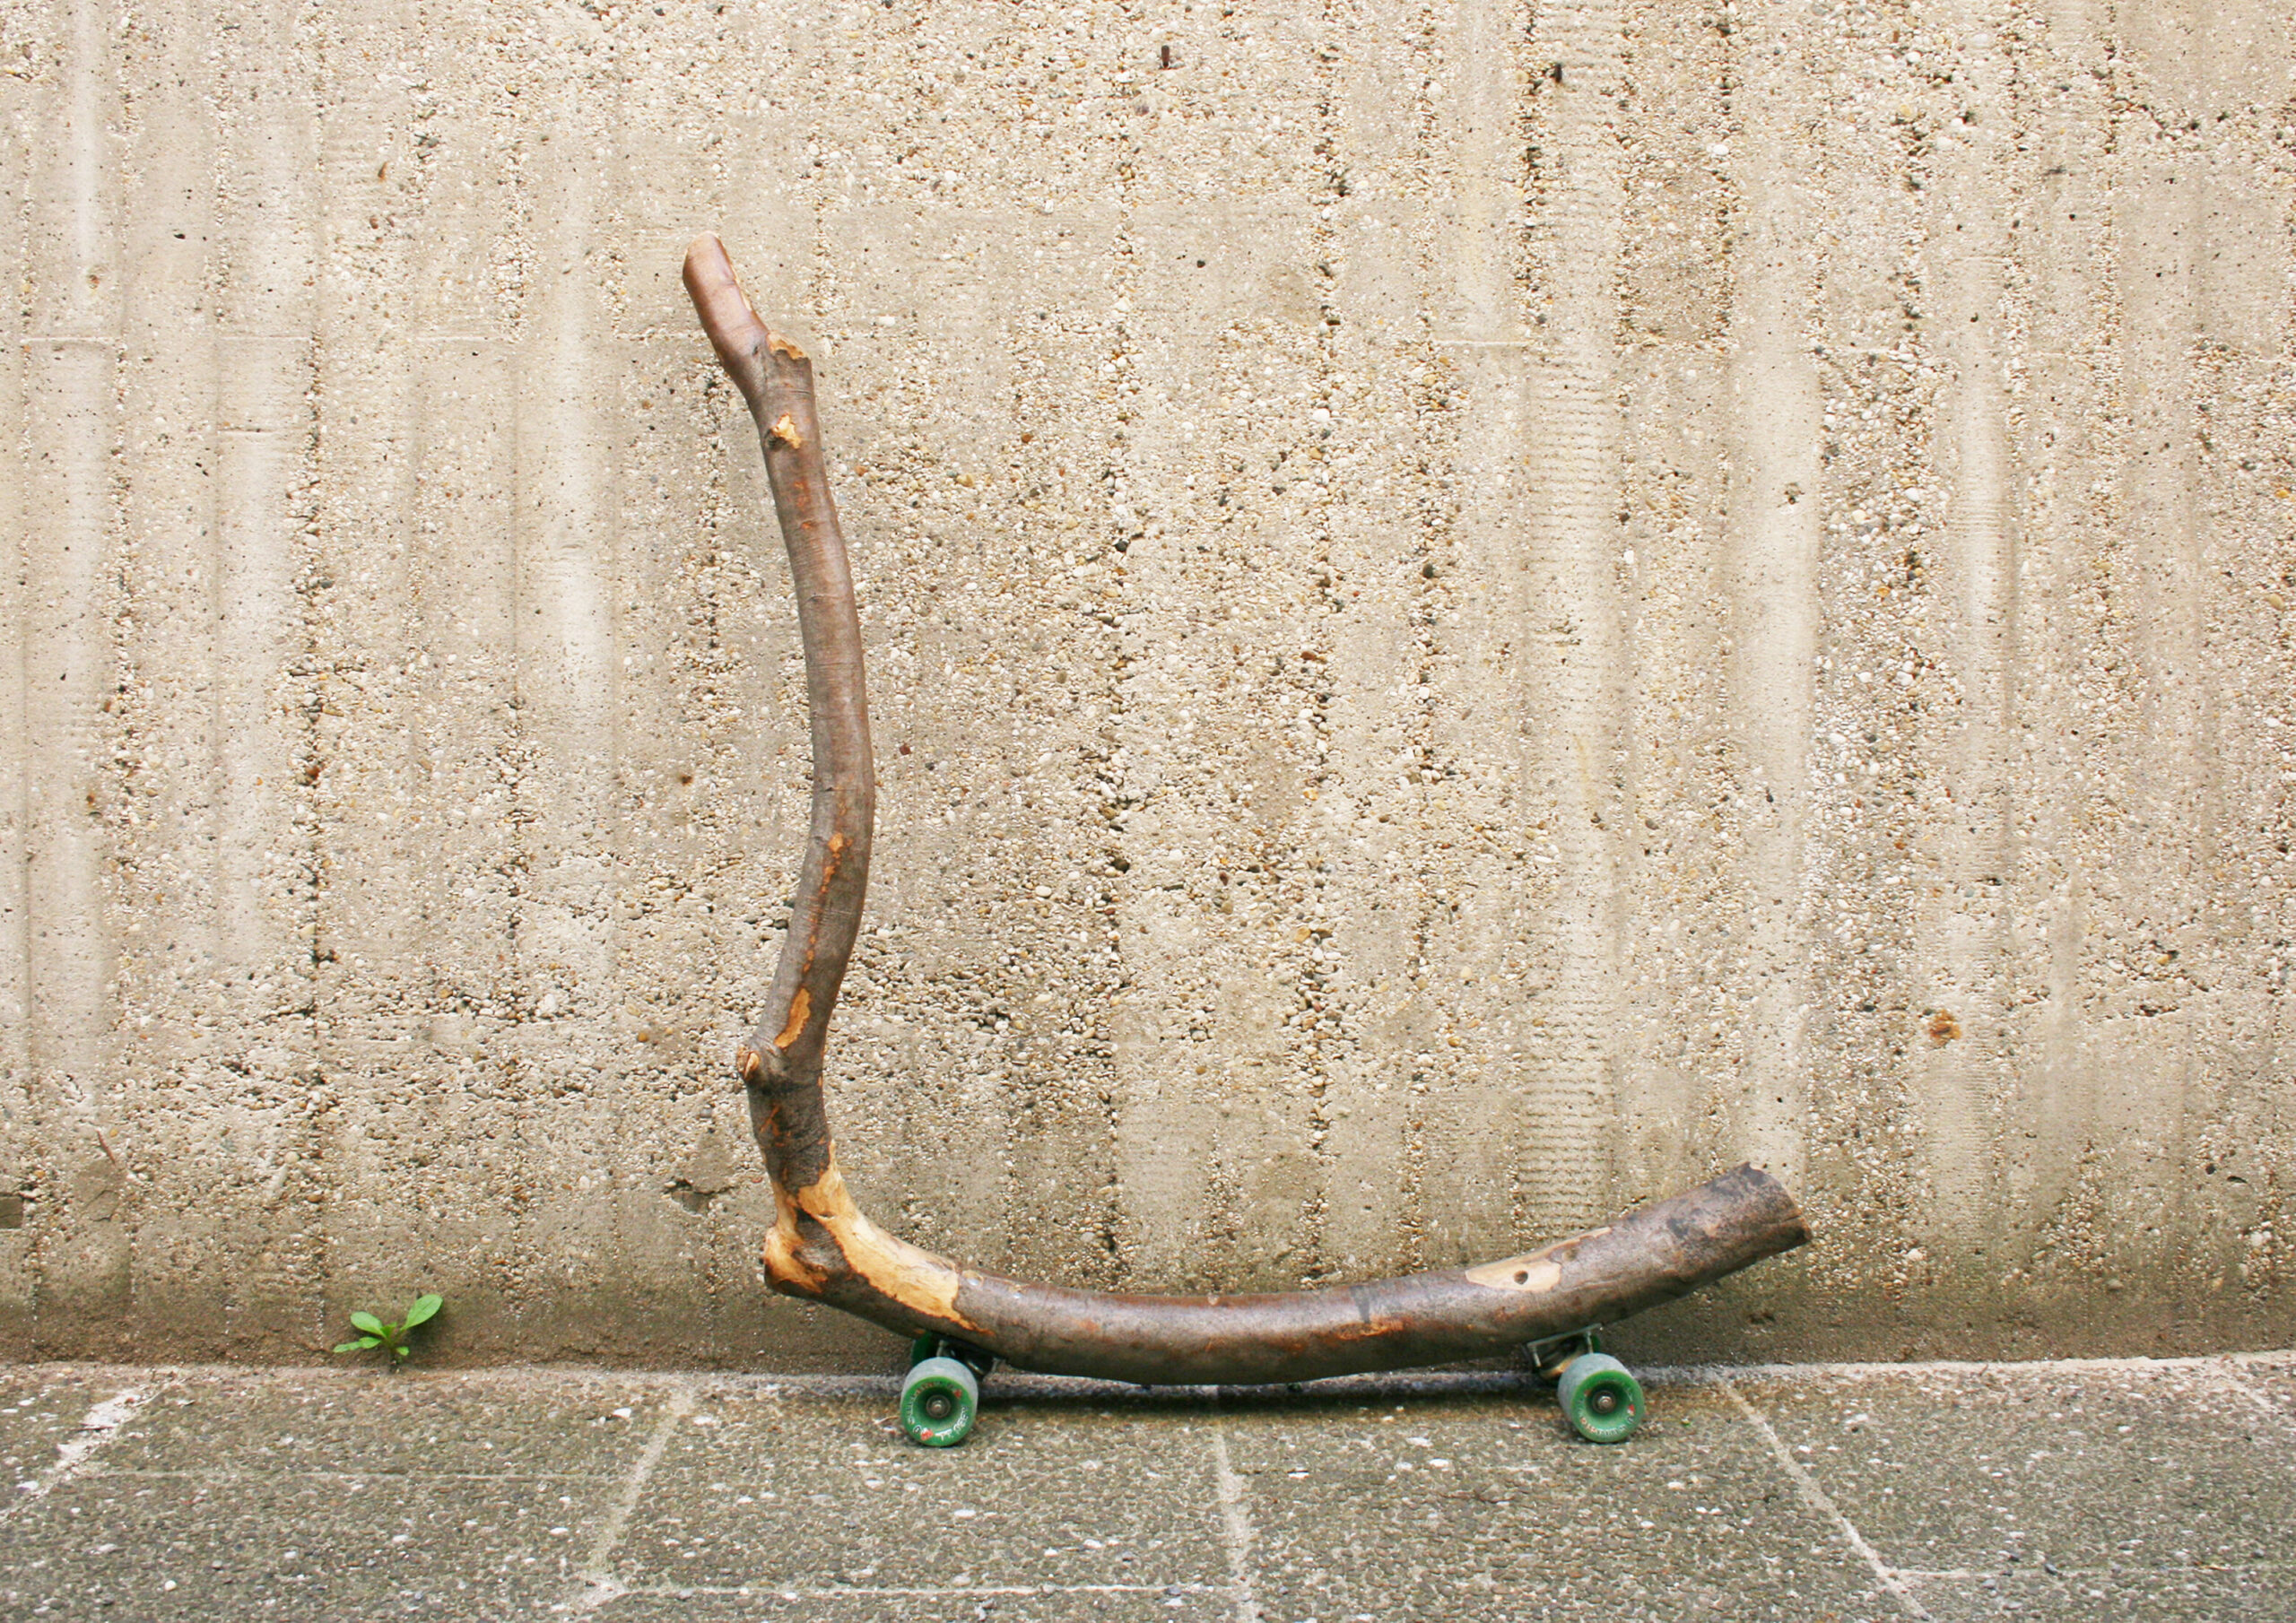
A Branchboard begins with a found natural form. Every branch has its own properties and qualities: shape, weight, direction, tension, balance and character. When skateboard or longboard trucks are mounted onto it, the branch becomes a new kind of riding object.
This DIY / step by step guide gives you the basic logic of building your own Branchboard.
Remember: Branchboarding is experimental. Every participant is responsible for their own actions.
Safety first!
Branchboarding at your own risk.
(Parents are responsible for their children!)
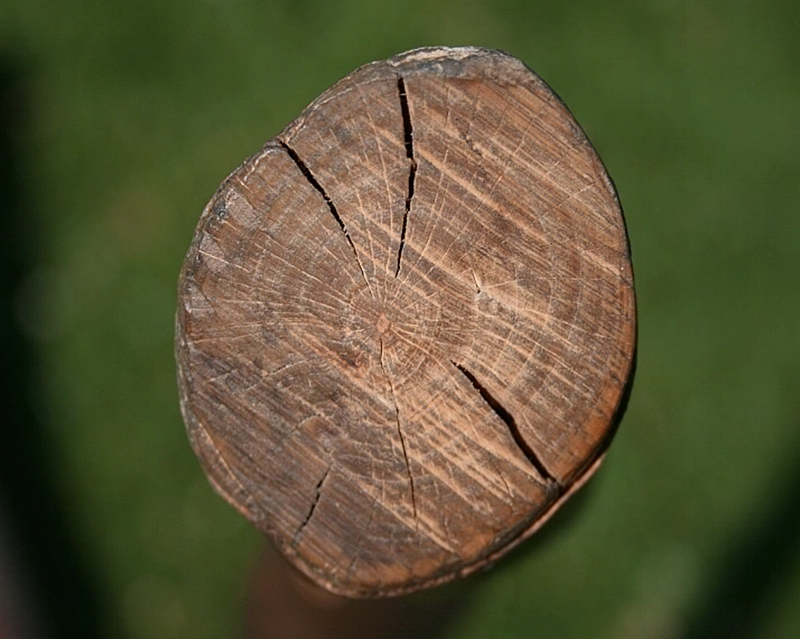
Do not unnecessarily cut healthy trees. Search for branches that are already fallen, broken after storms, removed from gardens or parks, or will be cut anyway. The branch should still be structurally healthy: not rotten, not cracked through and not dangerously weakened.
What You Need
A basic Branchboard can be built with:
– one suitable branch
– skateboard or longboard trucks
– wheels
– bolts, washers and nuts
– drill
– saw or carving tools
– sandpaper
– workbench or vise
– basic protective gear for testing
Optional elements:
– grip tape
– rubber layers between wood and trucks
– lights
– brakes
– surface protection
– personal design elements
Step 1 — Find an Appropriate Branch
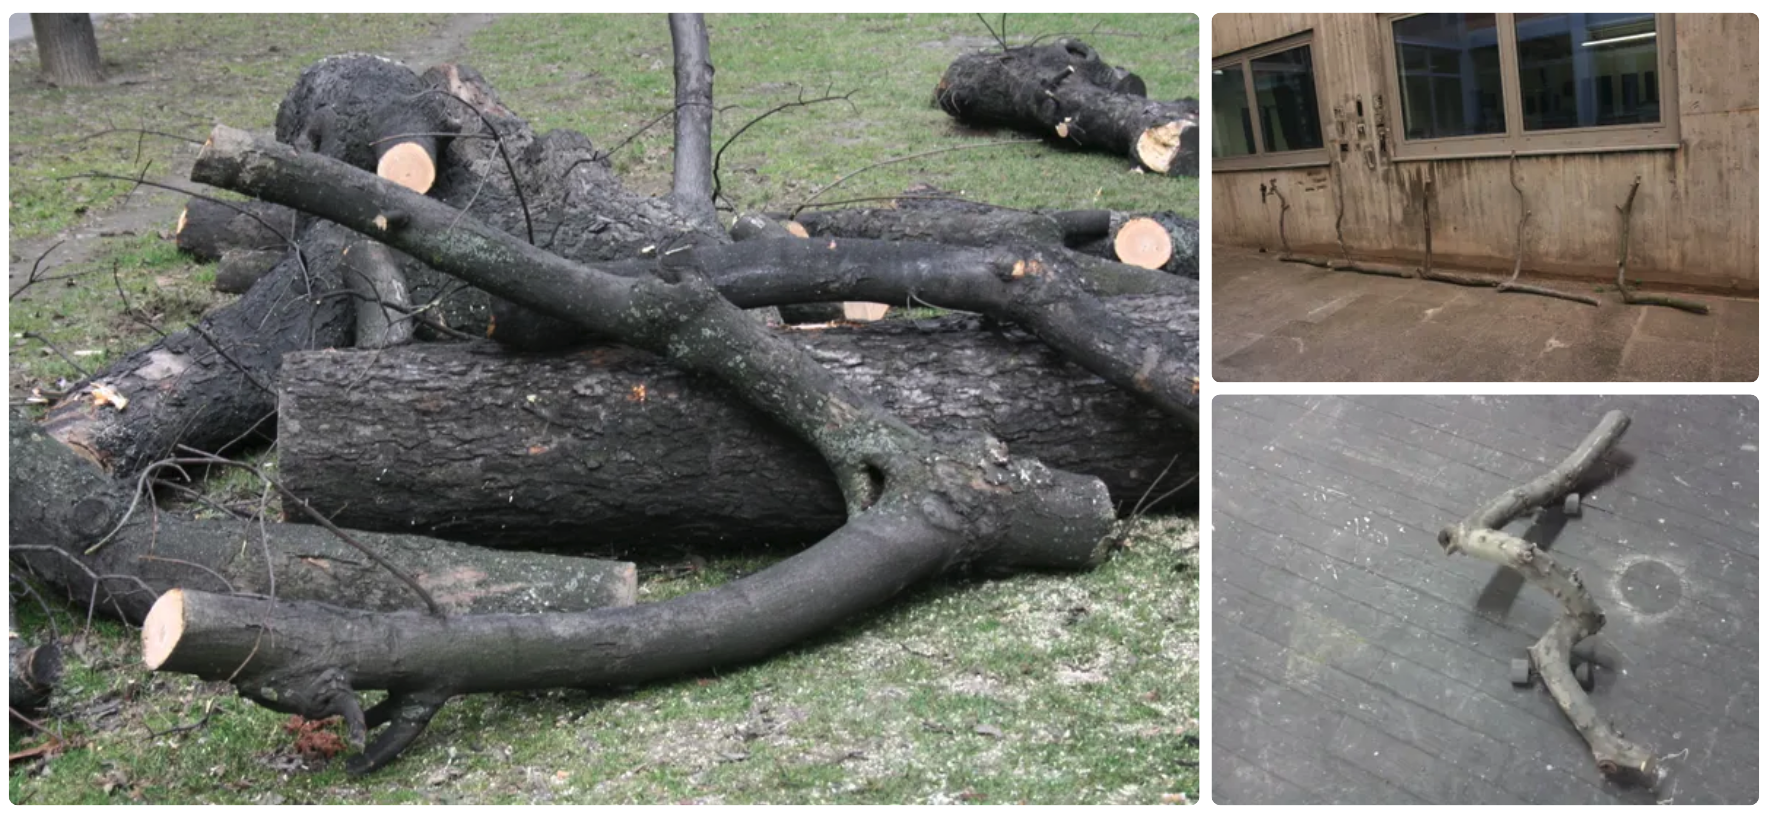
The branch is the beginning of the whole experience.
There are no fixed rules for the shape. The size, curve, weight, material and character of the branch can correspond to the body, temperament and riding intention of the person.
You can search for a branch for city riding, cruising, speed, transport, experimental movement, design, or simply for the feeling of discovering a new form.
Important:
– the branch must be strong enough to carry the rider
– it should be wide enough where the trucks are mounted
– it should not be rotten
– it should not be cracked through
– it should not feel structurally unsafe
Step 2 — Choose Trucks and Wheels
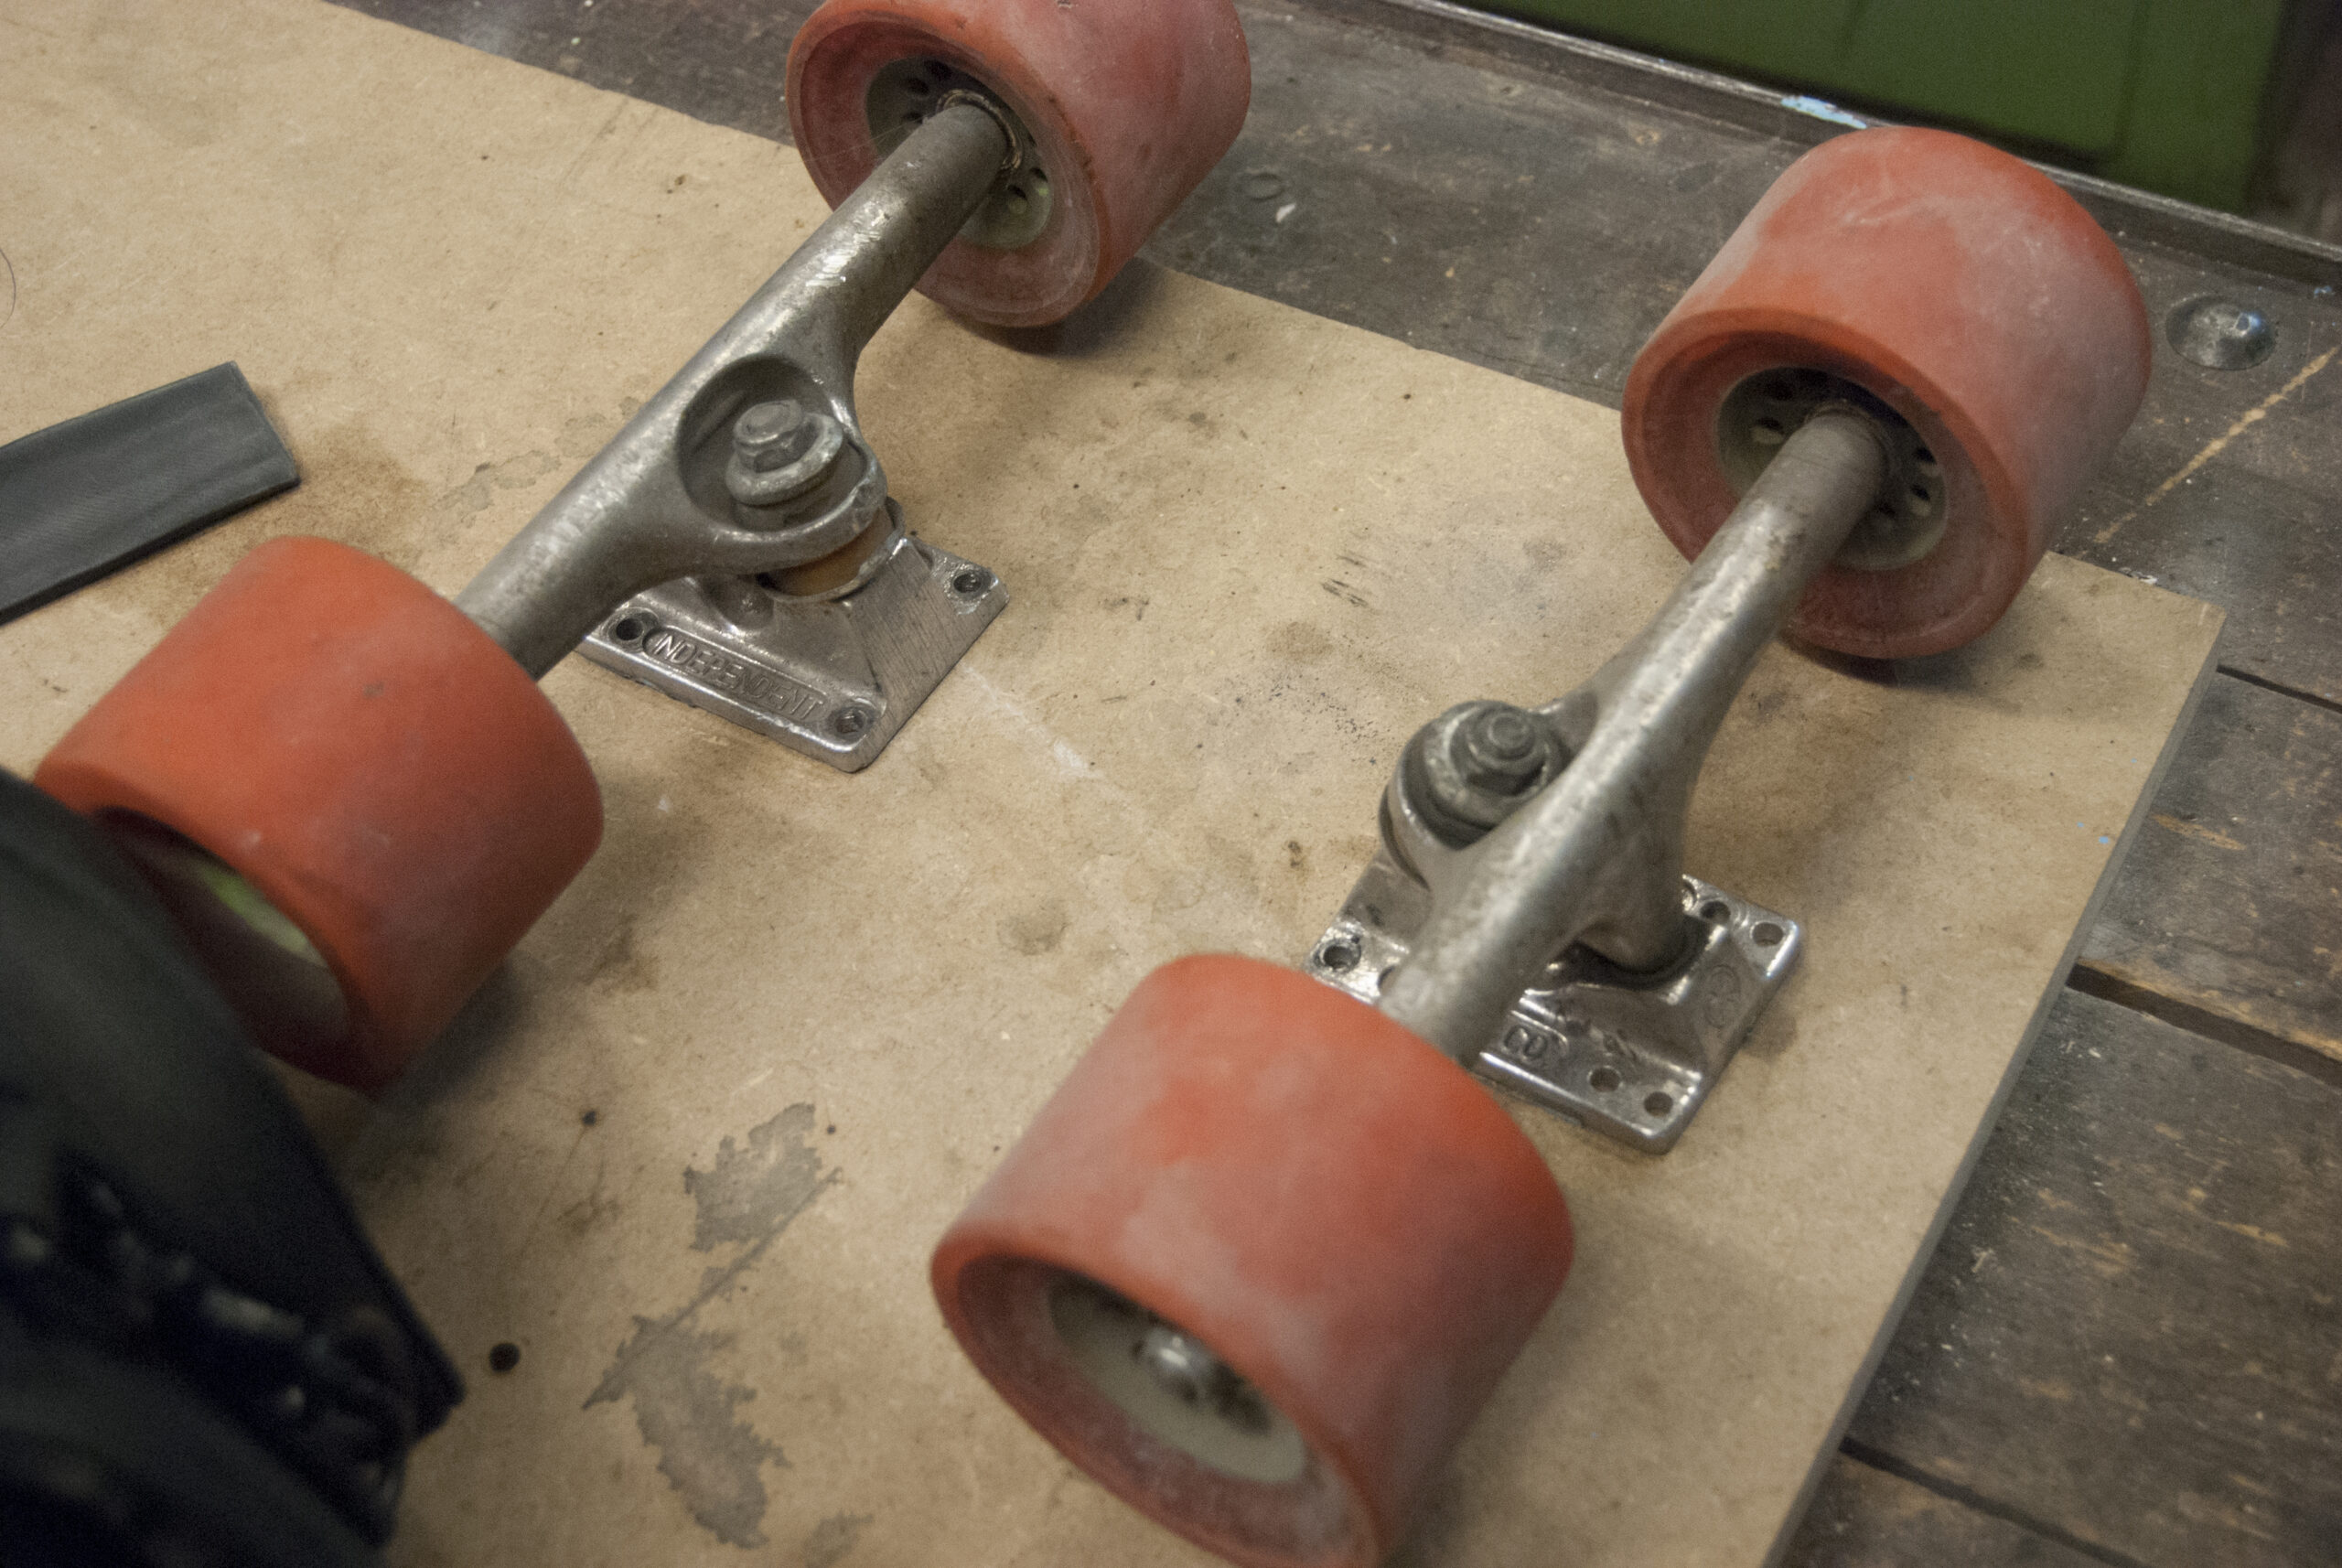
Choose skateboard or longboard trucks and wheels depending on the kind of movement you want.
Wider trucks can give more stability. Softer wheels can be better for rougher surfaces. Harder wheels can feel faster and more direct on smooth ground.
There is no single perfect setup. The setup should fit the branch, the rider and the landscape.
Step 3 — Position the Trucks
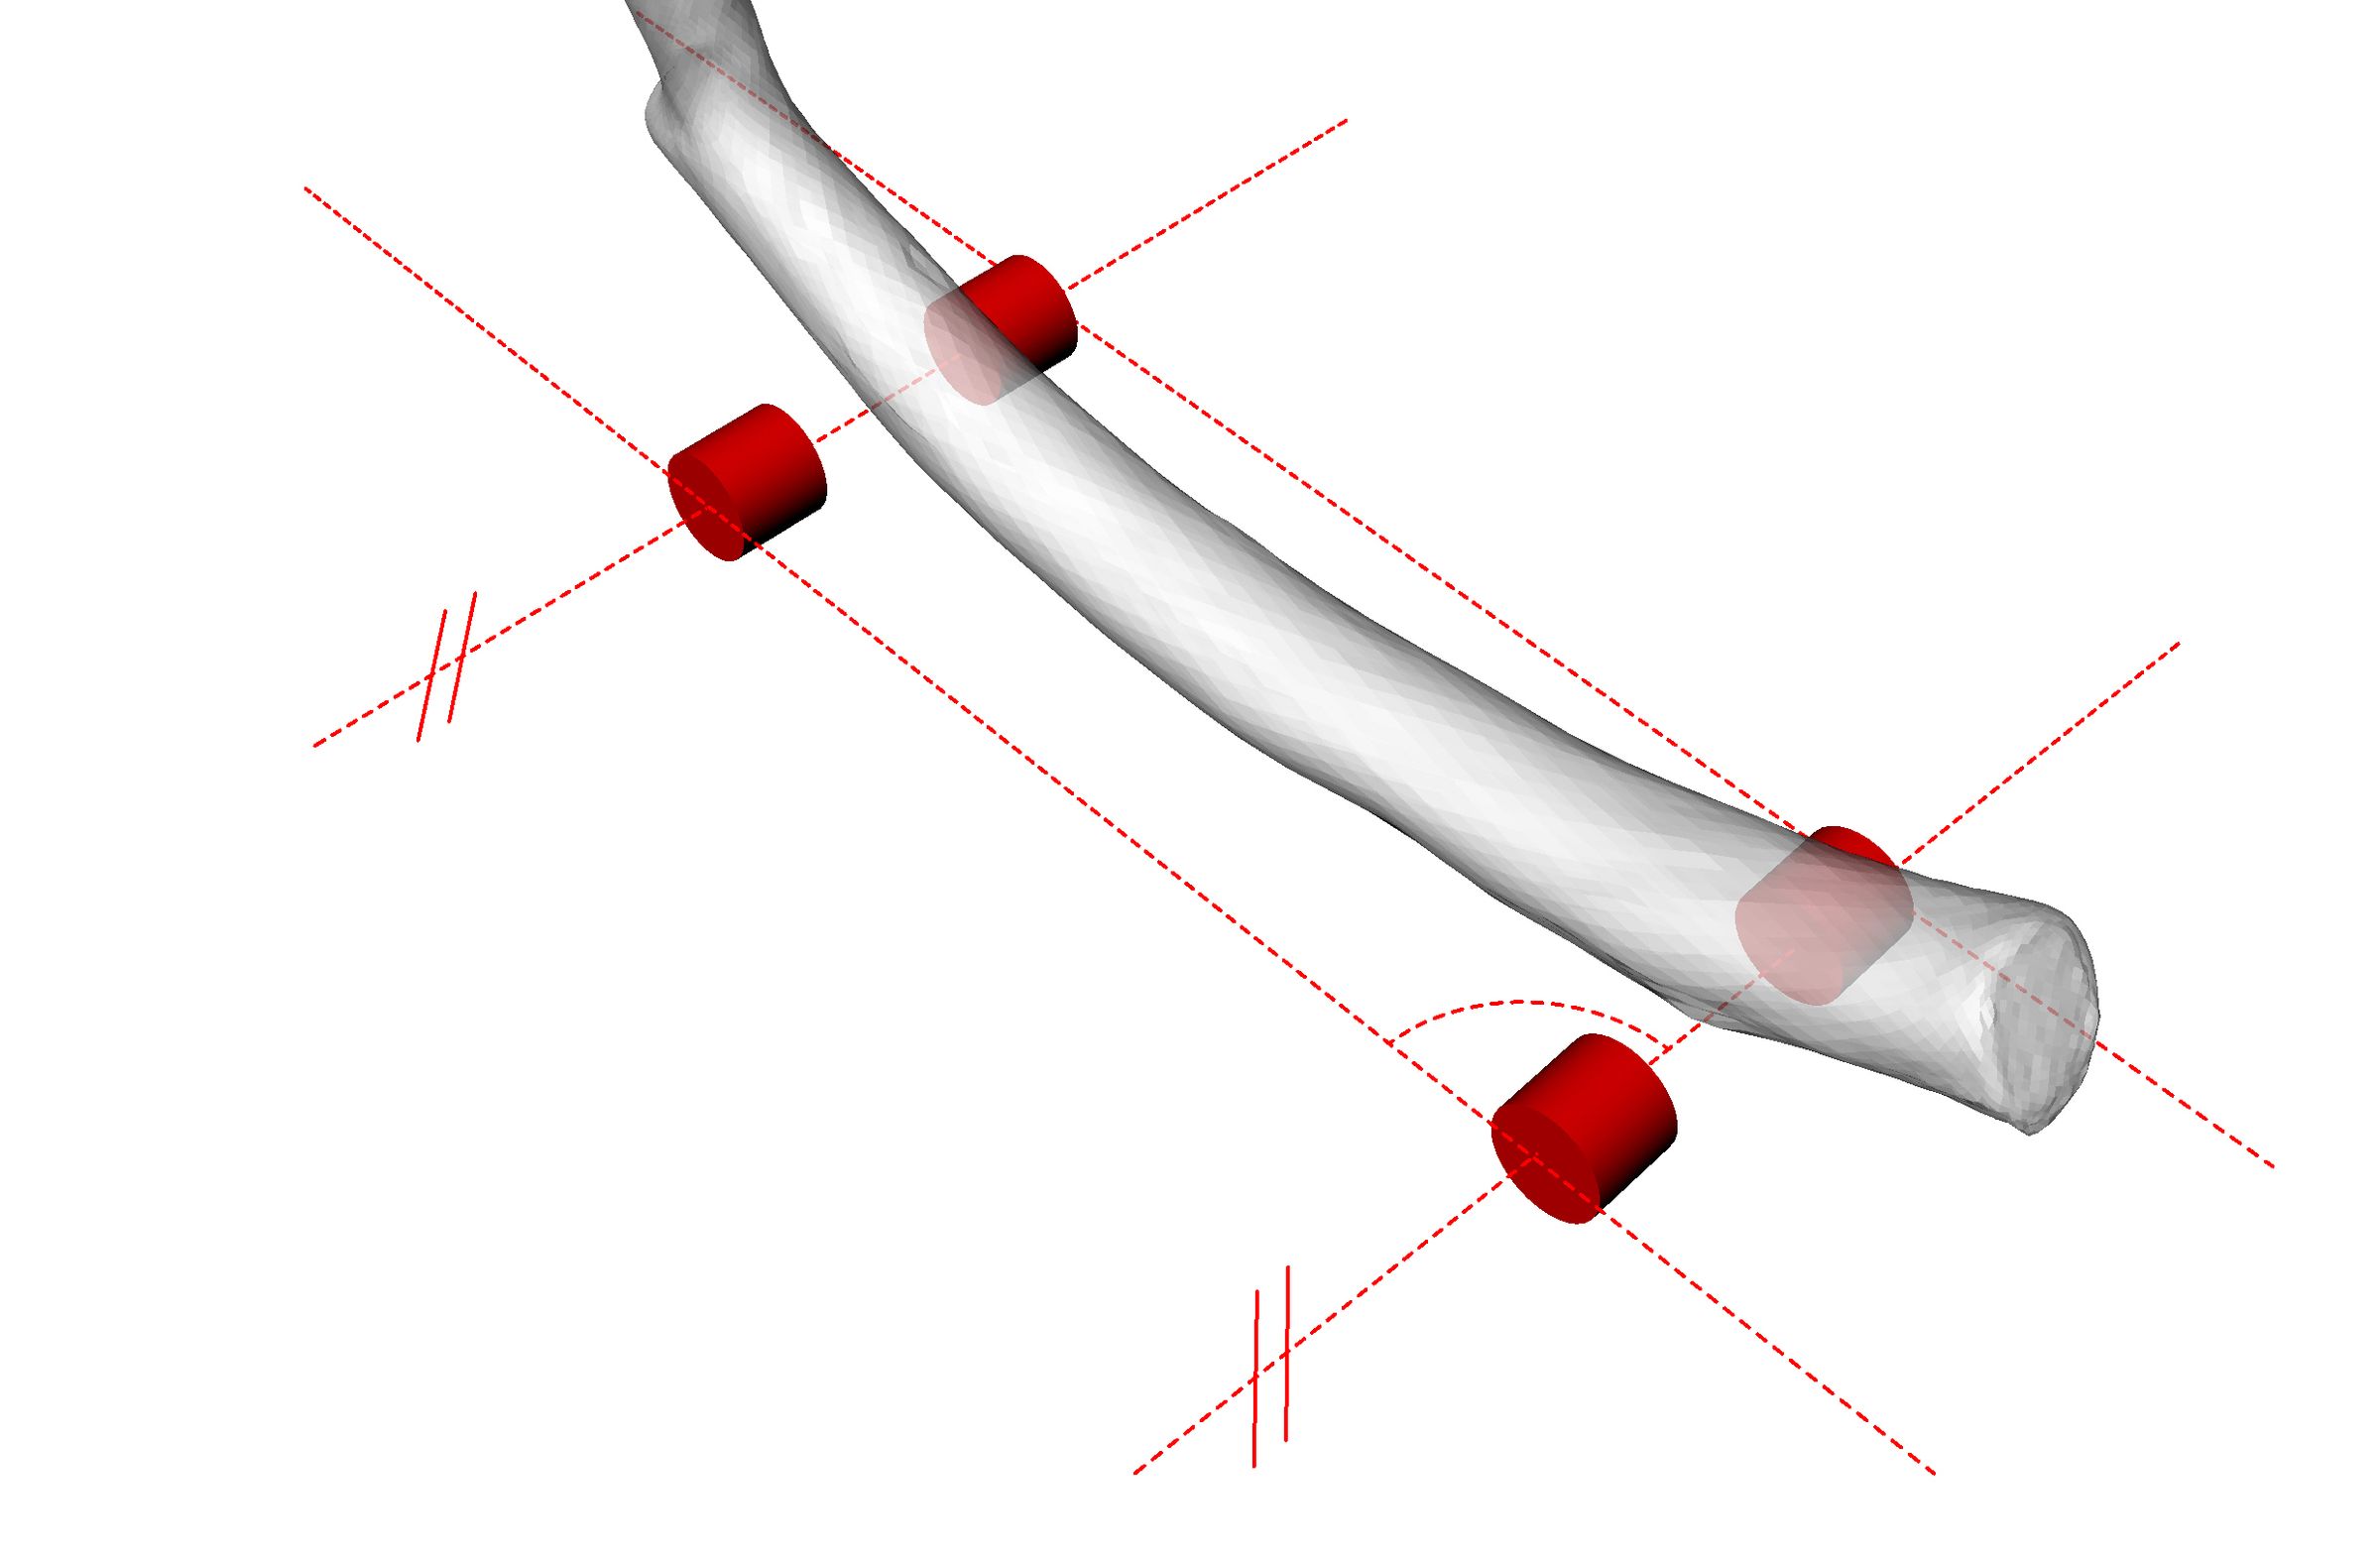
The distance between the trucks depends on the length and shape of the branch.
This step is very important:
The trucks must be aligned parallel to each other.
If the trucks are not parallel, the Branchboard can behave unpredictably. Take time for this step. Look from different angles. Mark carefully before cutting or drilling.
Step 4 — Create the Truck Planes
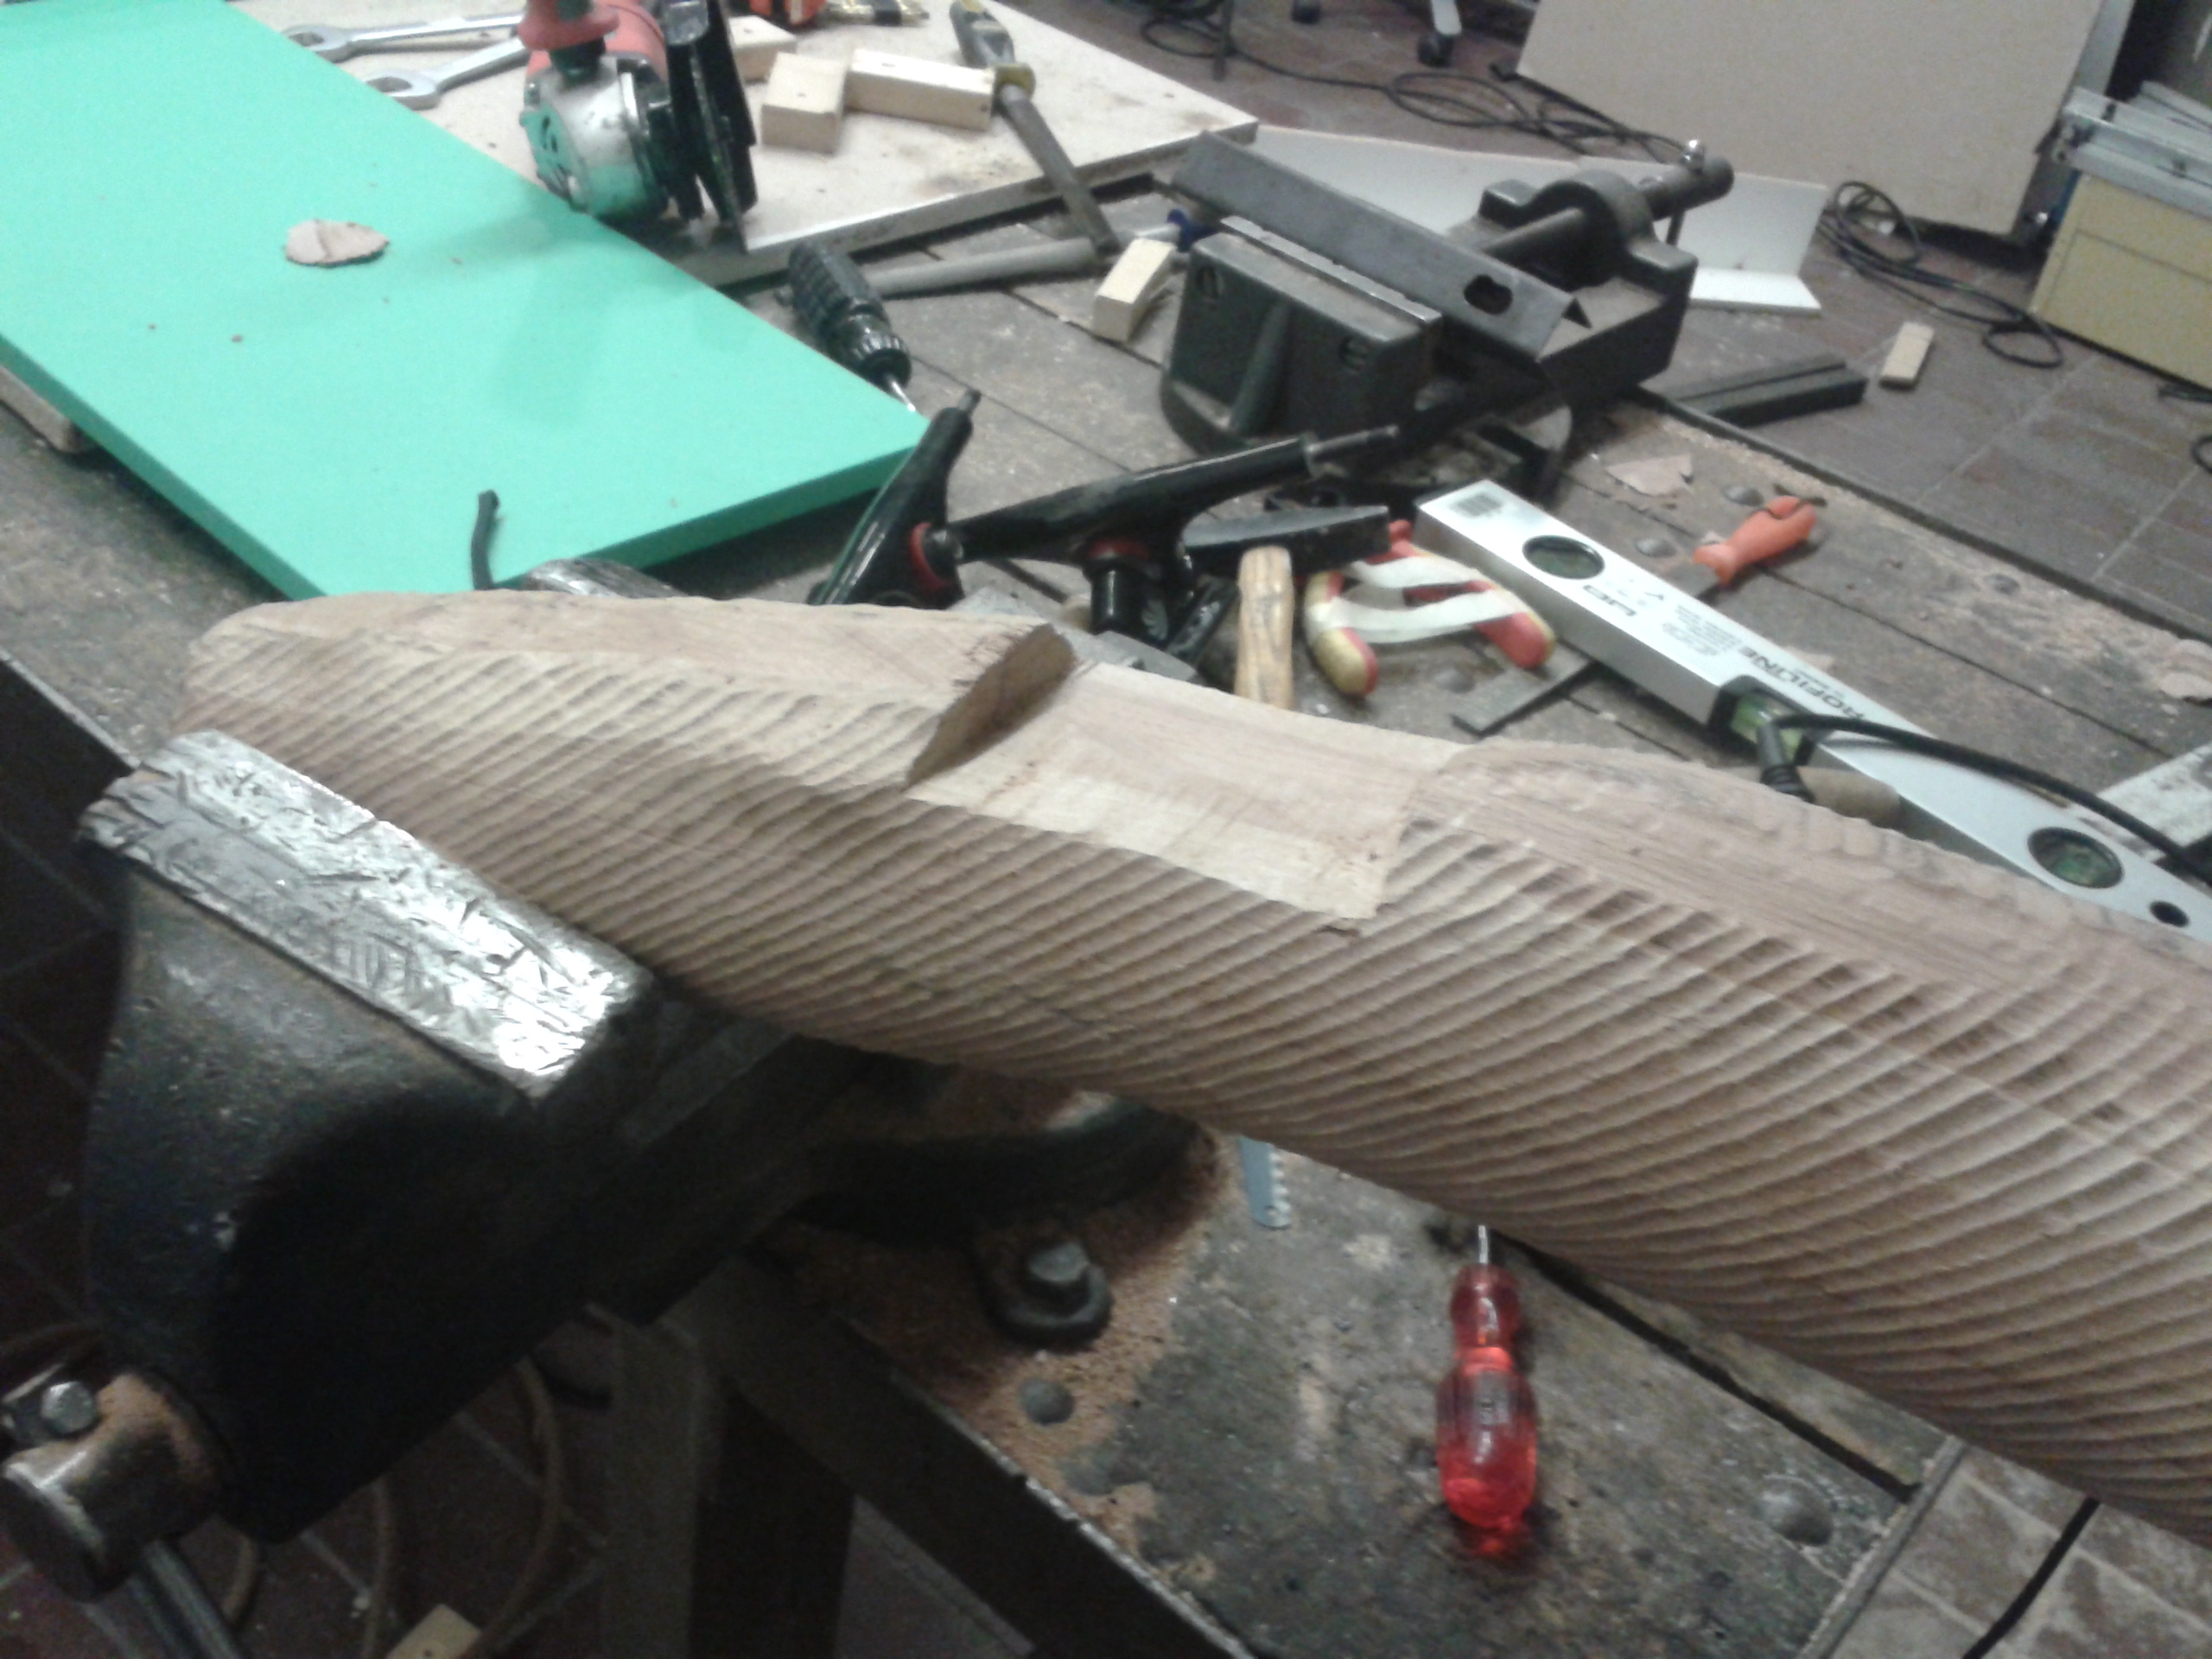
Place the branch on a workbench and fix it safely.
Position the trucks on the branch and mark the contact areas. These areas can then be cut and sanded so the trucks sit into the wood instead of only resting on the round surface.
The goal is to create stable truck planes.
This helps the trucks stay in position, distributes pressure more evenly into the branch, and reduces stress on the screws or bolts while riding.
Work slowly. Remove only as much material as needed.
Step 5 — Mount the Trucks
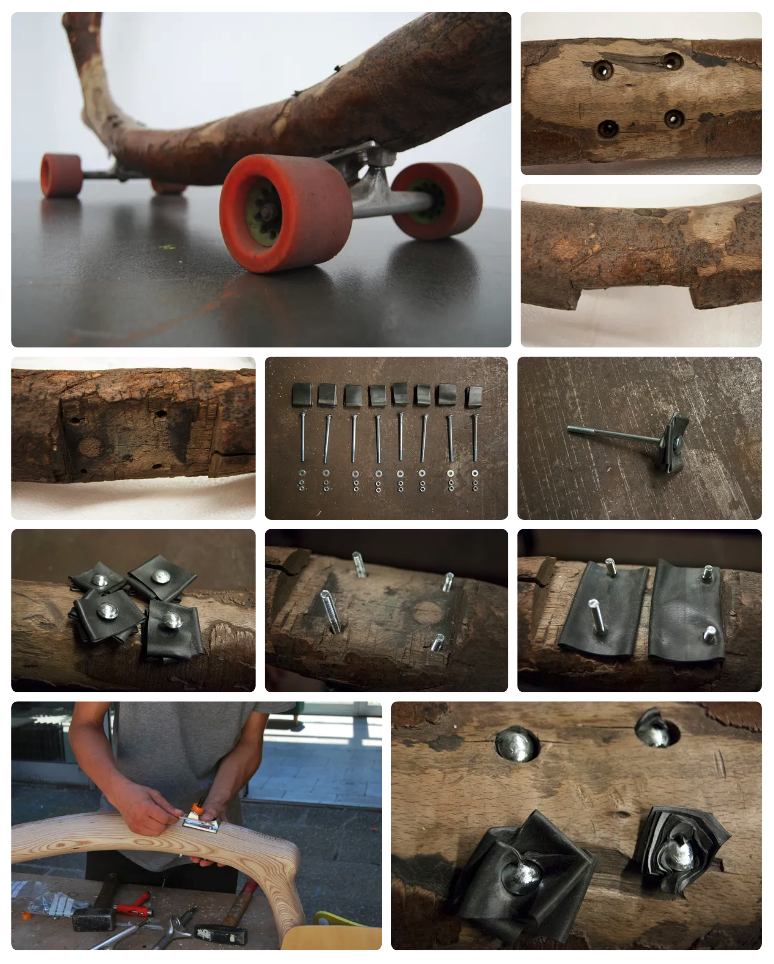
When the truck planes are ready and both trucks sit correctly, mount the trucks carefully.
For first positioning, temporary wood screws can help. For the final build, stronger through-bolts with washers and nuts are recommended.
Wood screws can loosen over time because of vibration while riding. Bolts with washers and nuts give a stronger and more reliable connection.
Recommended:
– drill clean holes through the branch
– use bolts long enough for the branch thickness
– use washers
– tighten carefully
– use double nuts or locking nuts if possible
– check that all four wheels touch the ground evenly
– check again that the trucks are parallel
Optional rubber layers, for example from bicycle inner tubes, can be placed between wood, trucks and bolts to reduce vibration, protect the wood, and make the ride quieter.
Step 6 — Fine Tuning
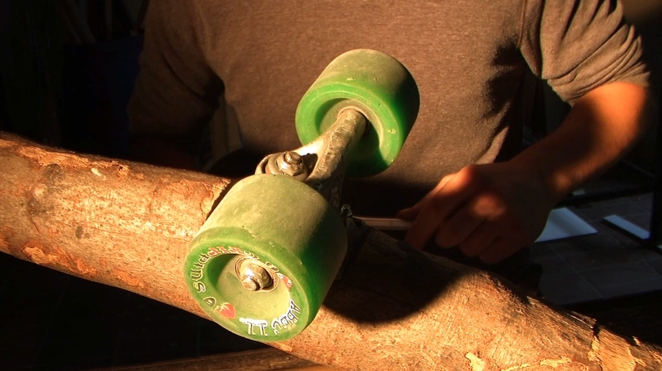
Before the first real ride, test everything slowly.
Check:
– all bolts
– truck movement
– wheel contact
– cracks or weak points
– balance
– turning behavior
– noise
– vibration
– stability under body weight
The truck tension should not be too tight and not too loose. Adjust carefully until the board reacts in a controlled way.
Start on flat, open, smooth ground. Do not begin in traffic, downhill or crowded places.
Step 7 — The Last Step Is No Longer a Step
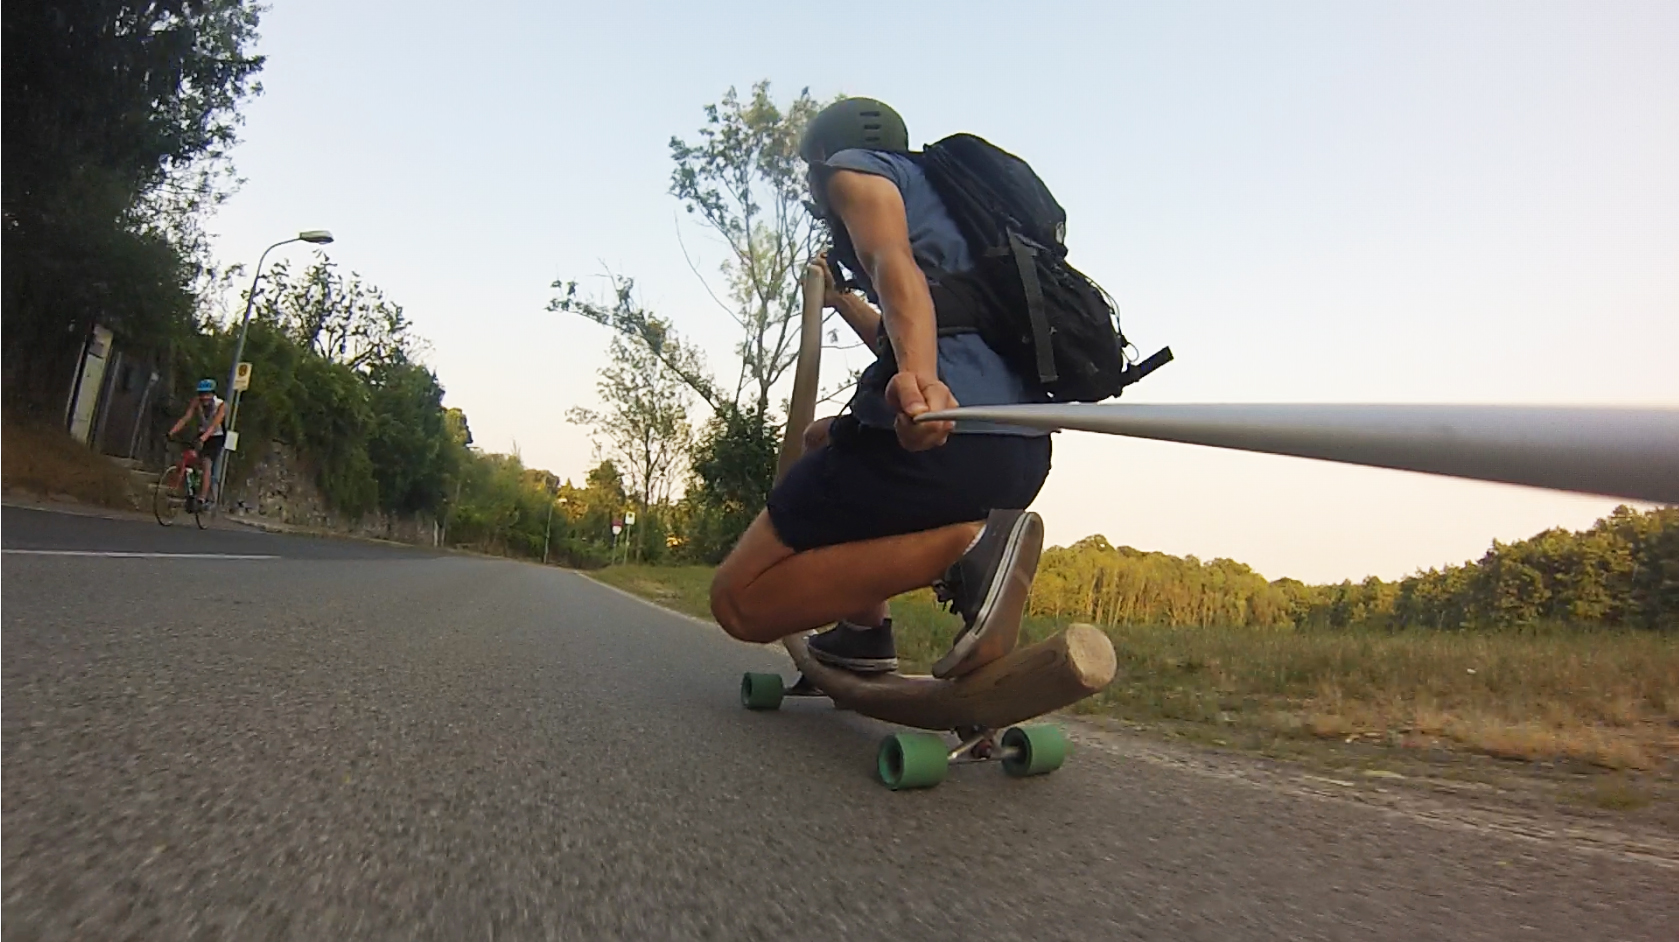
From this point on, a new perspective of movement can open. A Branchboard is not only an object. It becomes a dialogue between branch, body, surface, balance, landscape and public space.
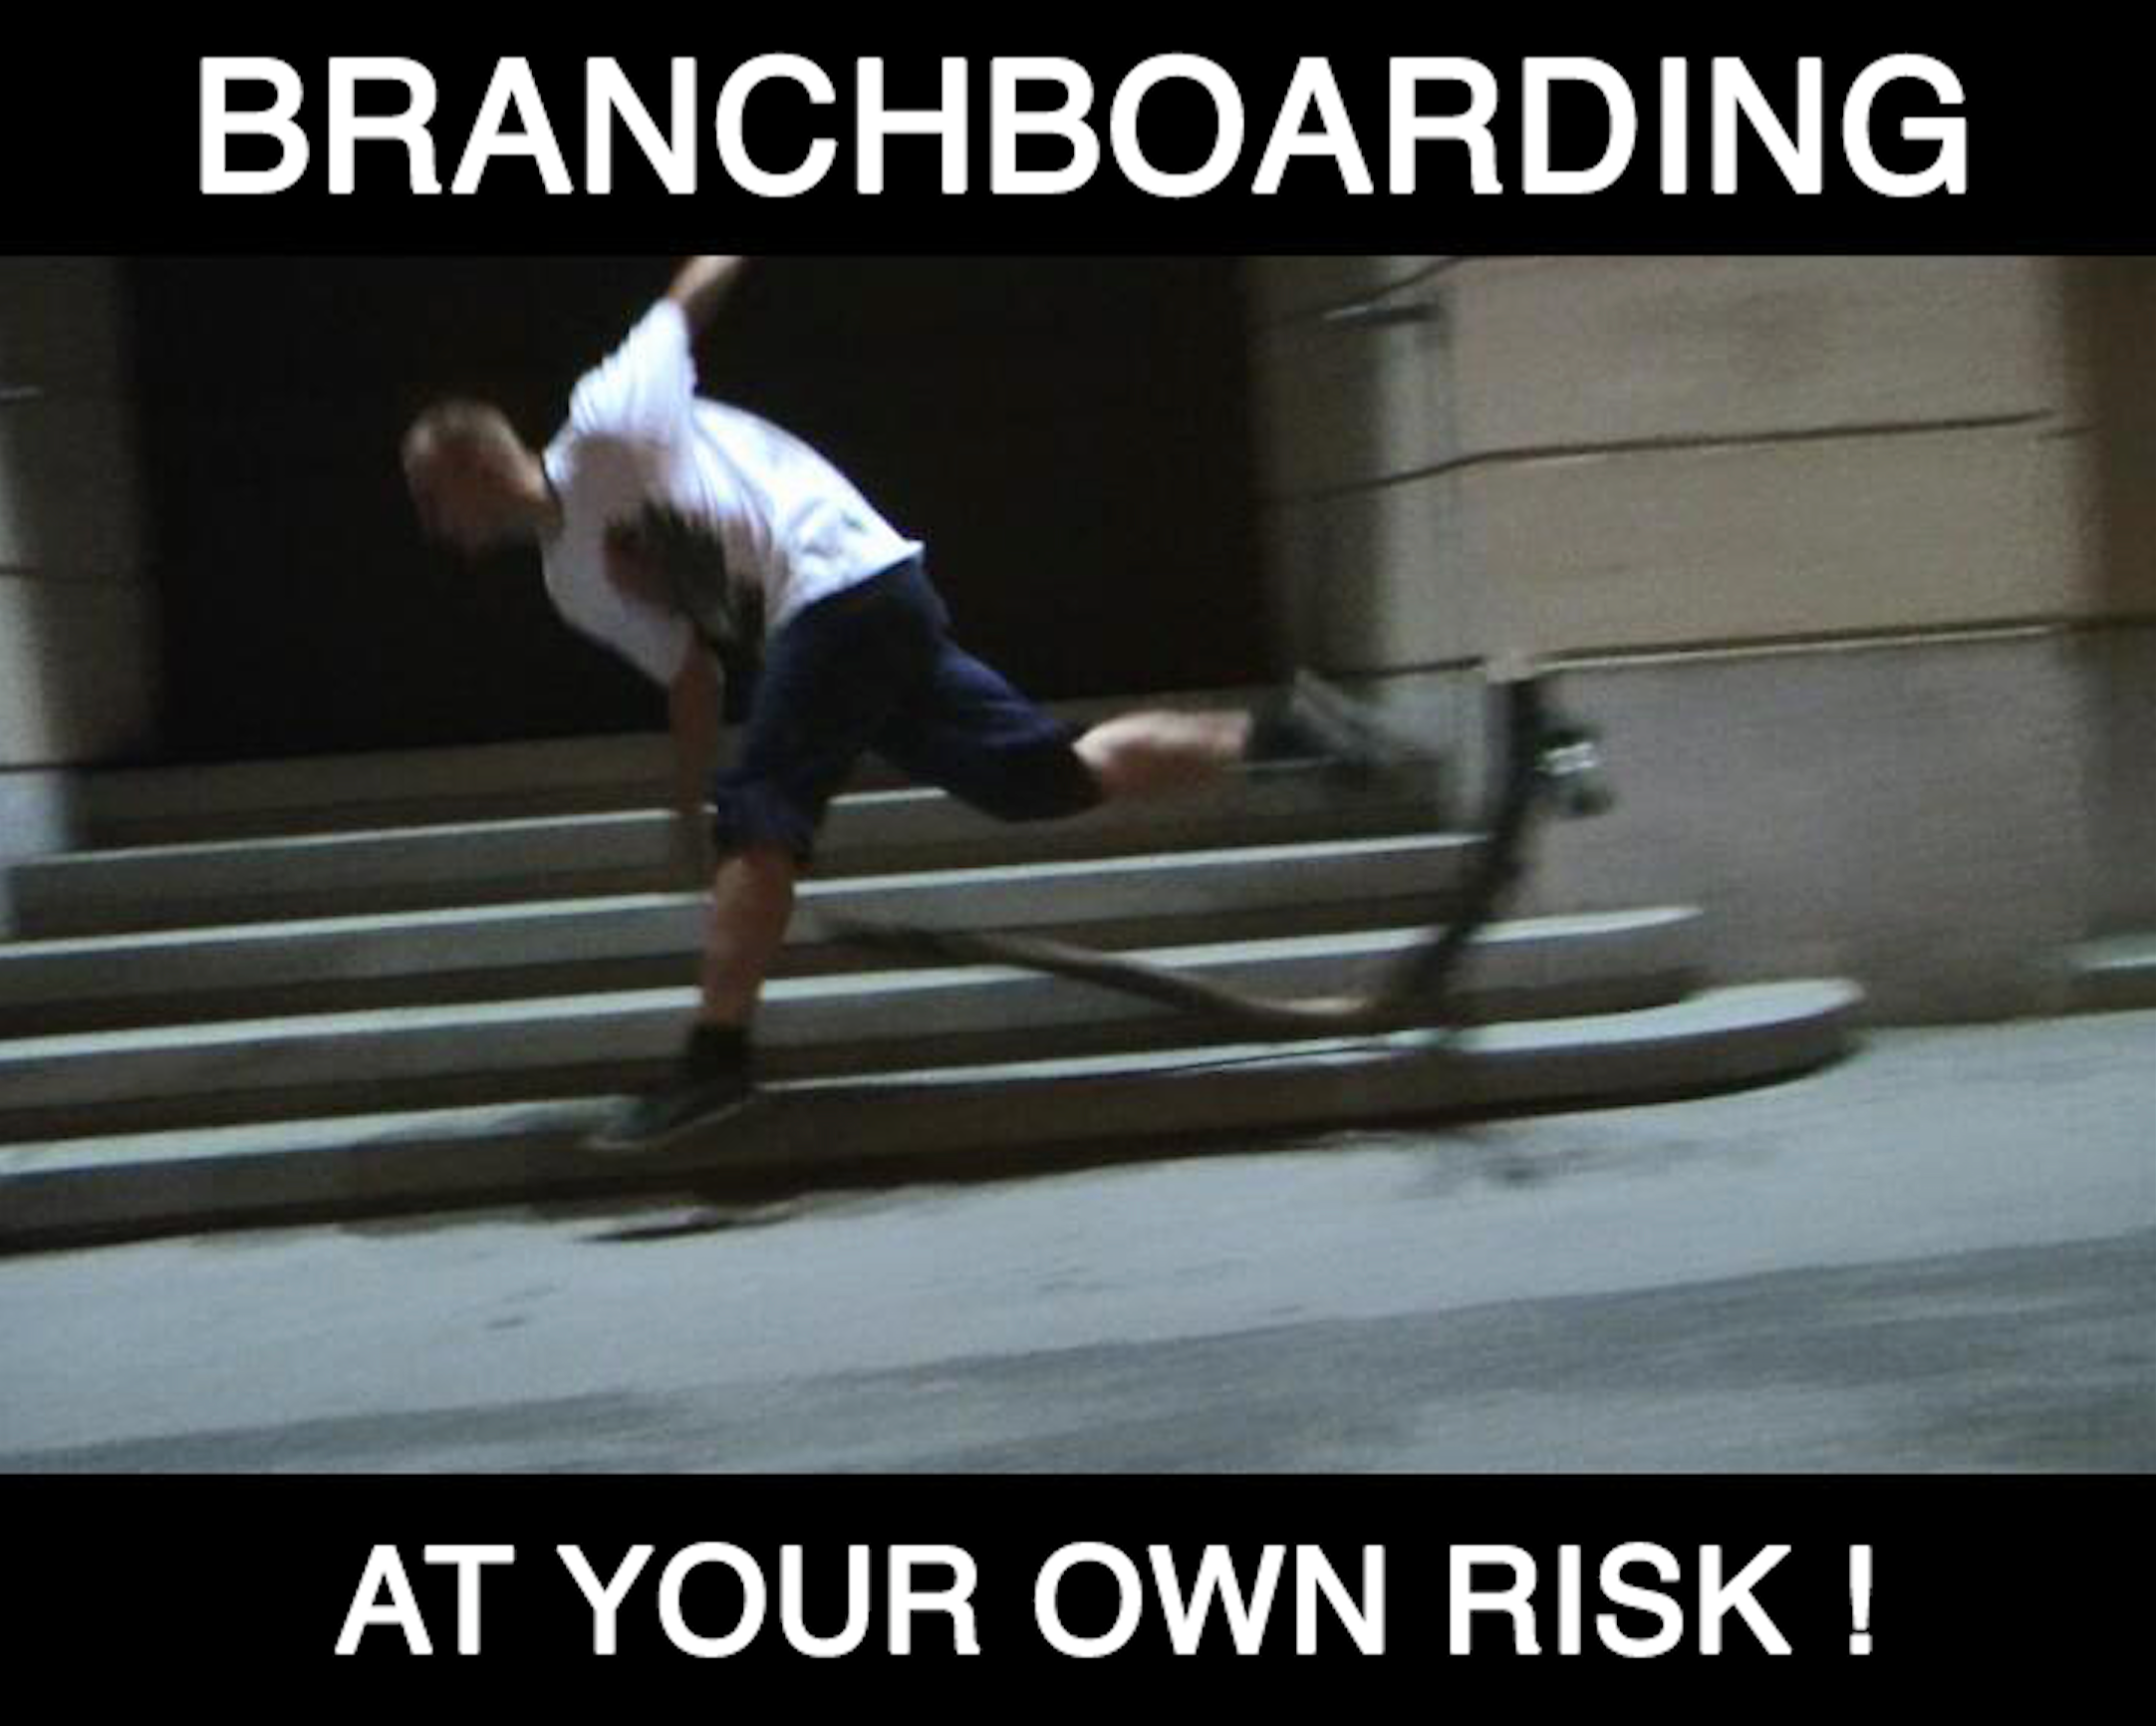
And again: Stay safe! Branchboarding at your own risk. (Parents are responsible for their children!)
After Building
If you build your own Branchboard, you are invited to register it.
Your model, story, photos, riding experience and location can become part of the growing Branchboarding / Tree of Motion archive.
This helps document the movement, compare unique models differences or riding styles and build the future infrastructure of Branchboarding.
REGISTER YOUR BRANCHBOARD HERE
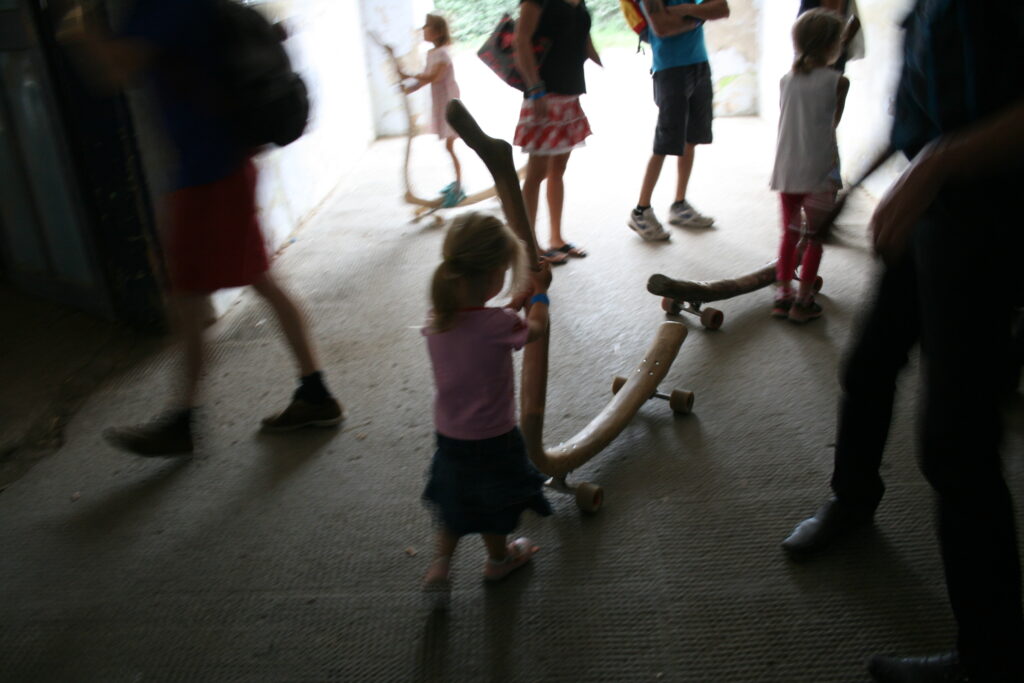
If you build, ride, find, modify or document a Branchboard, you are invited to share it publicly using:
#Branchboarding
#Branchboard
Keep in mind: posting does not automatically create an official registration or archive record.
Need Support?
If you want help with a custom Branchboard, a pre-existing model, a special project, a collaboration or a Tree of Motion edition, contact Tree of Motion. Direct support, testing, workshops and studio visits in Vienna may be possible by appointment.
The full original public DIY / Step-by-Step Manual is available also on Instructables. It includes the historical guide, pictures, comments, public reactions and the original visible archive of the project. [LINK]